
Step-by-Step Guide to Installing Google Analytics on WordPress
The most straightforward and recommended method for most users is using a plugin like MonsterInsights, which simplifies setup without coding and provides dashboard access to data. Always start by creating a Google Analytics account to obtain your Measurement ID (e.g., G-XXXXXXXXX).
Step 1: Create a Google Analytics Account and Get Your Measurement ID
- Visit the Google Analytics website and sign in with your Google account.
- Set up a new account, create a property for your website, and configure a web data stream.
- In the Admin area, go to Property > Data Streams > Web, select your stream, then View tag instructions > Install manually.
- Copy the full tracking code or just the Measurement ID (starts with "G-").
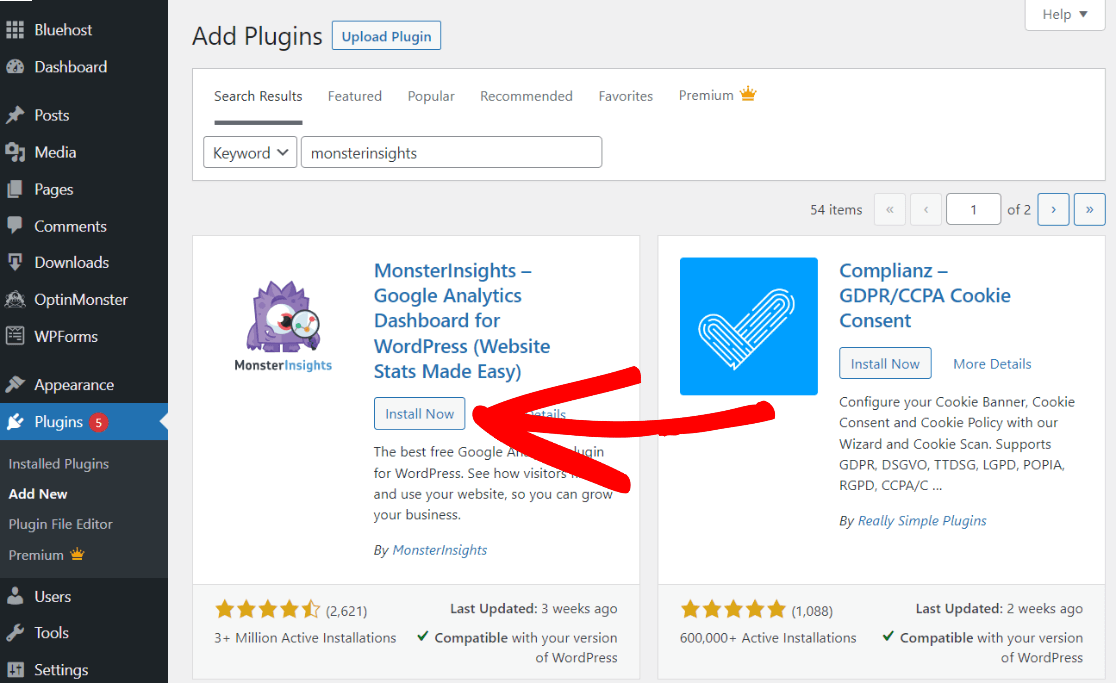
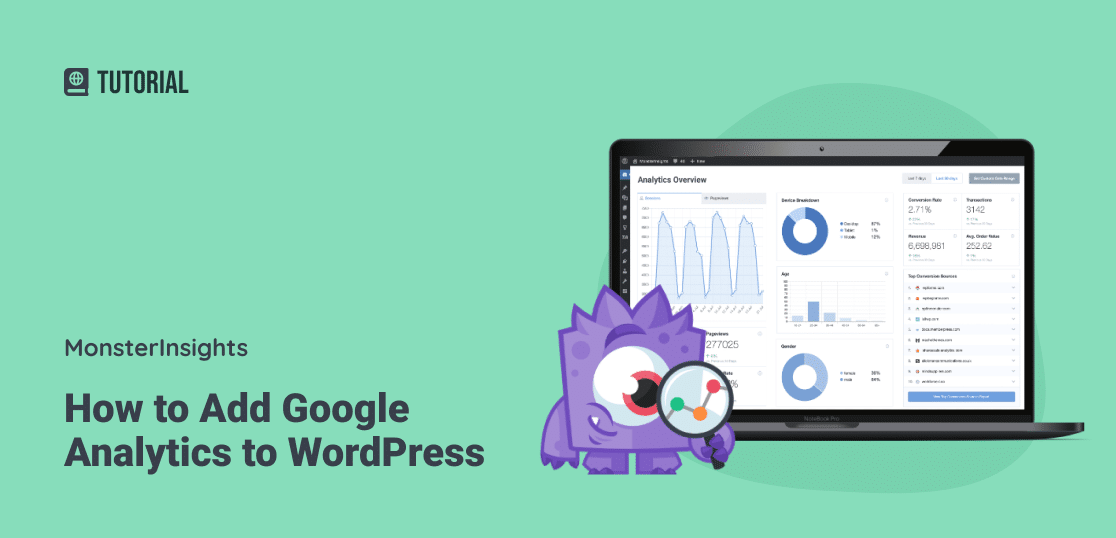
Step 2: Choose and Install a Plugin (Easiest Method: MonsterInsights)
MonsterInsights is the top-recommended plugin for full features like enhanced tracking.
- Log in to your WordPress dashboard.
- Go to Plugins > Add New, search for MonsterInsights, click Install Now, then Activate.
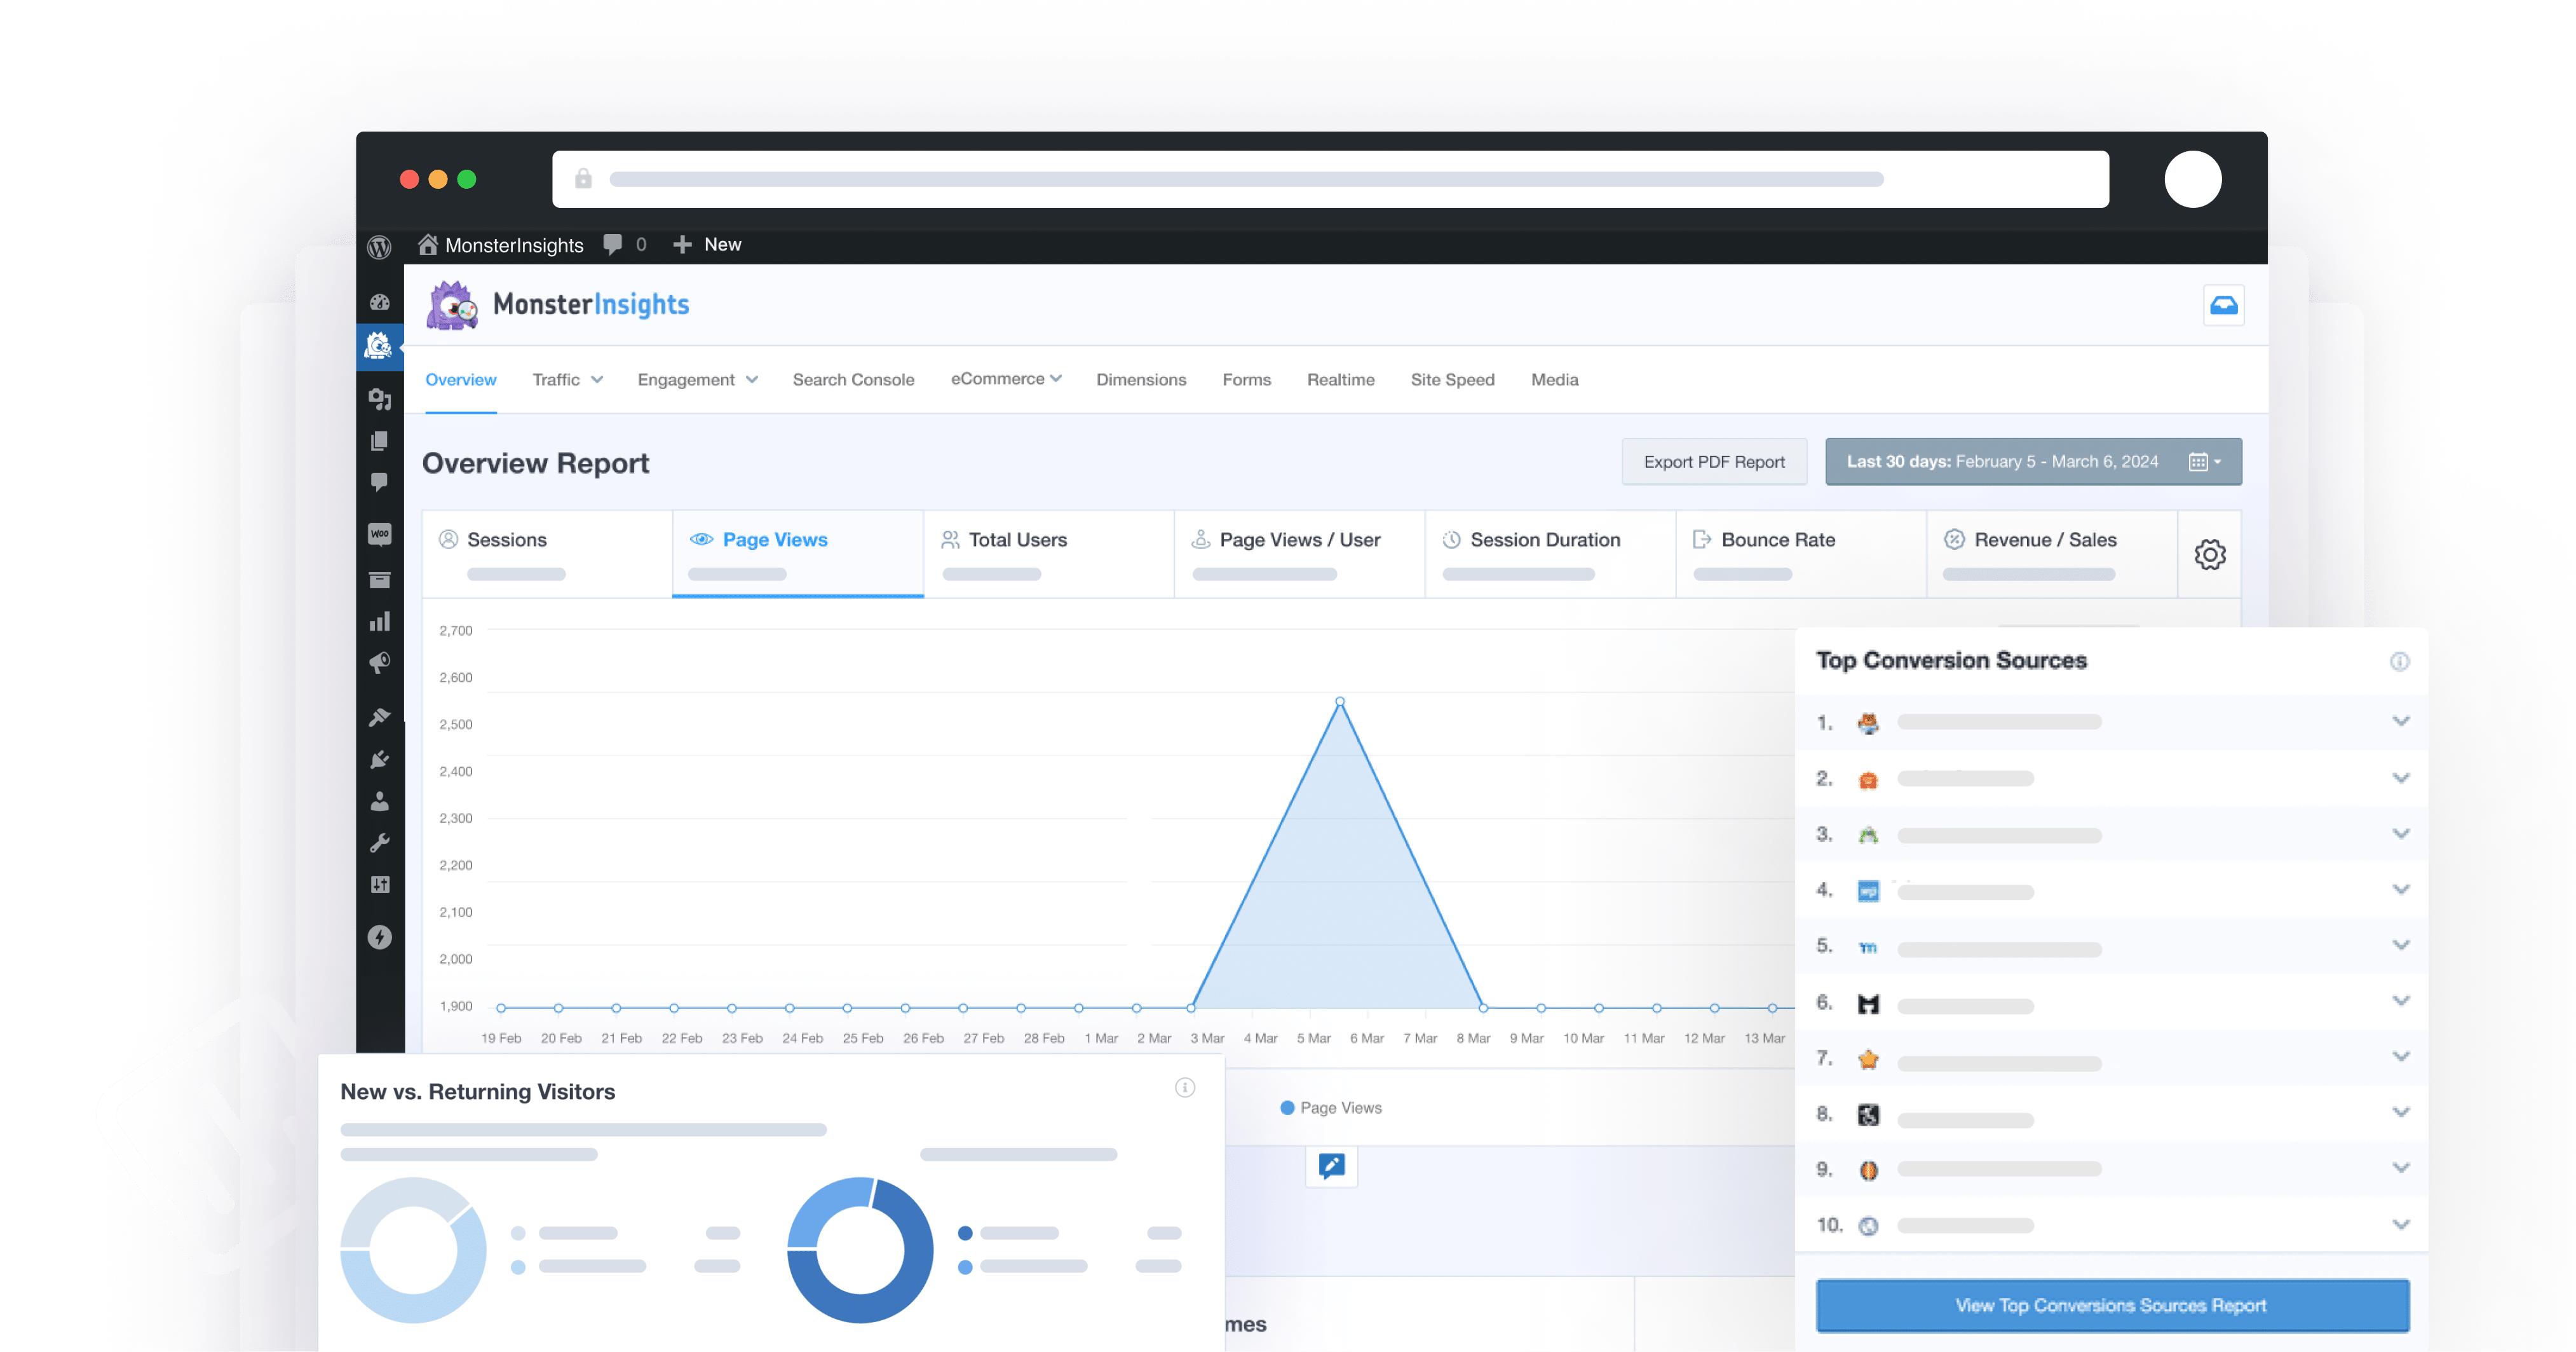
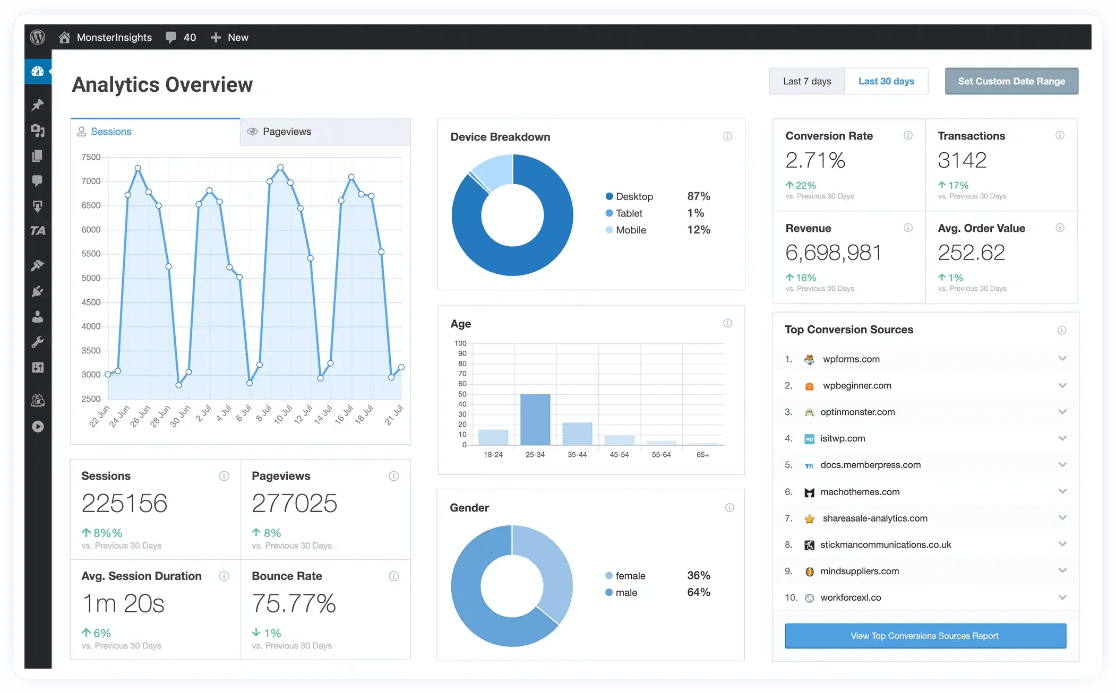
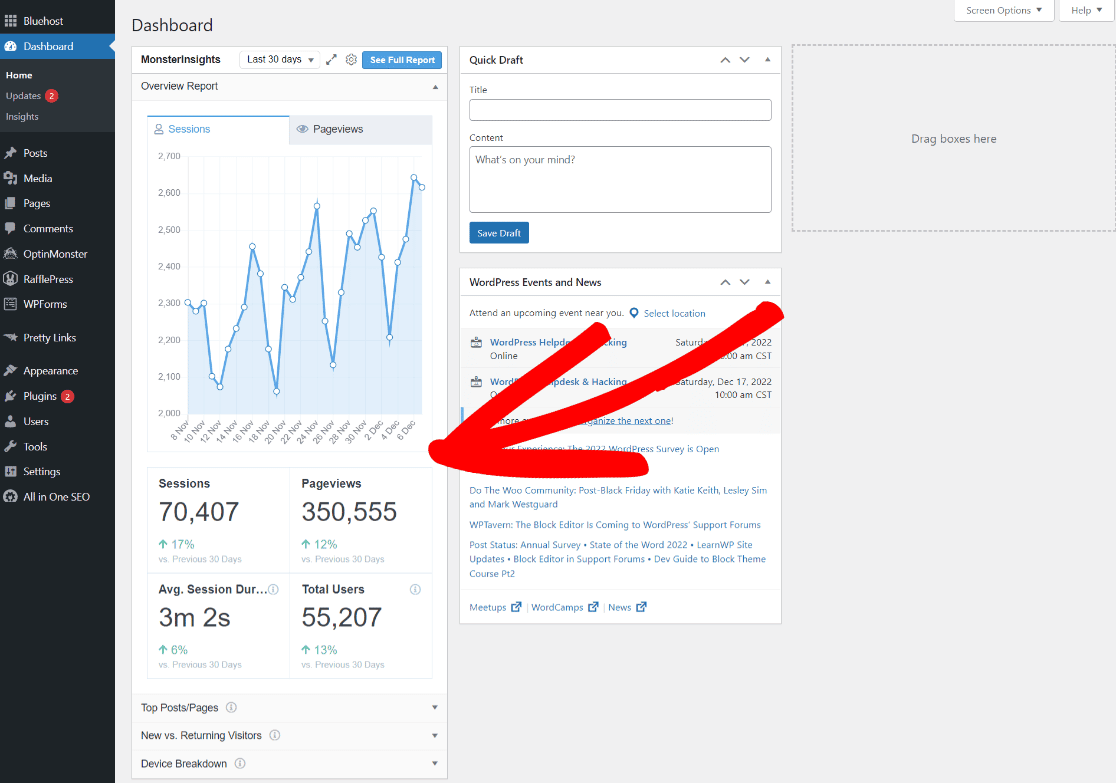
- Navigate to Insights > Launch Setup Wizard (or similar prompt).
- Sign in to Google, authenticate, paste your Measurement ID if prompted, and complete the wizard.
- Verify connection in the dashboard; data starts collecting immediately.
Alternatives:
- Site Kit by Google: Search and install from Plugins, activate, then follow its setup to connect Analytics.
- Jetpack: Install/activate Jetpack, select a plan if needed, then connect your Measurement ID under Jetpack settings.
- WPCode (for lighter manual insert): Install WPCode plugin, add your tracking code snippet to the header via its interface.
Step 3: Manual Installation (No Plugin, Advanced Users Only)
Use this if avoiding plugins, but it lacks advanced features like dashboard integration.
- Option A: Via Insert Headers and Footers Plugin
- Install/activate "Insert Headers and Footers".
- Go to Settings > Insert Headers and Footers.
- Paste the full Google tag code (from Step 1) into the Scripts in Header section.
- Save changes.
- Option B: Edit Theme Files (Riskier – Backup First)
- Access cPanel > File Manager > public_html > wp-content > themes > [active theme] > header.php.
- Paste the tracking code before the closing
</head>tag. - Save.
- Option C: Functions.php
- Edit your theme's functions.php file.
- Add this code:
<?php add_action('wp_head', 'wpb_add_googleanalytics'); function wpb_add_googleanalytics() { ?> <!-- Paste your full Google Analytics tracking code here --> <?php } ?> - Replace the comment with your code from Step 1.
Step 4: Verify and Test
- Return to Google Analytics > Realtime report to confirm live traffic.
- Check WordPress dashboard (if using MonsterInsights) for data.
- Allow 24-48 hours for full reports; past data won't retroactively appear.
Notes: For WordPress.com hosted sites, use the built-in Google Analytics toggle in site settings to paste your Measurement ID. Plugins like MonsterInsights handle GA4 (current standard) automatically. Manual methods risk breaking your site if themes update—plugins are safer. If issues arise, ensure no duplicate codes and check Google's Setup Assistant.


WebSeoSG offers the highest quality website traffic services in Singapore. We provide a variety of traffic services for our clients, including website traffic, desktop traffic, mobile traffic, Google traffic, search traffic, eCommerce traffic, YouTube traffic, and TikTok traffic. Our website boasts a 100% customer satisfaction rate, so you can confidently purchase large amounts of SEO traffic online. For just 40 SGD per month, you can immediately increase website traffic, improve SEO performance, and boost sales!
Having trouble choosing a traffic package? Contact us, and our staff will assist you.
Free consultation